
If you want to have a go at running multiple instances of operating systems on your desktop or laptop computer, VirtualBox is a great starting point. It was originally written by a German start-up Innotek GmbH in the mid 2000s but after a series of transactions the code today is maintained by Oracle.
Versions of VirtualBox have been available under the GPL, as free and open-source software, since 2007 (some components such as extensions may be proprietary). Versions are available free for Windows, Linux and OS X.
https://www.virtualbox.org/wiki/Downloads
If you’re on a Debian-based Linux system, it can be installed from the repositories by typing
sudo apt update
sudo apt install virtualbox
You’ll then be able to open the VirtualBox Manager application using your systems menu functions.
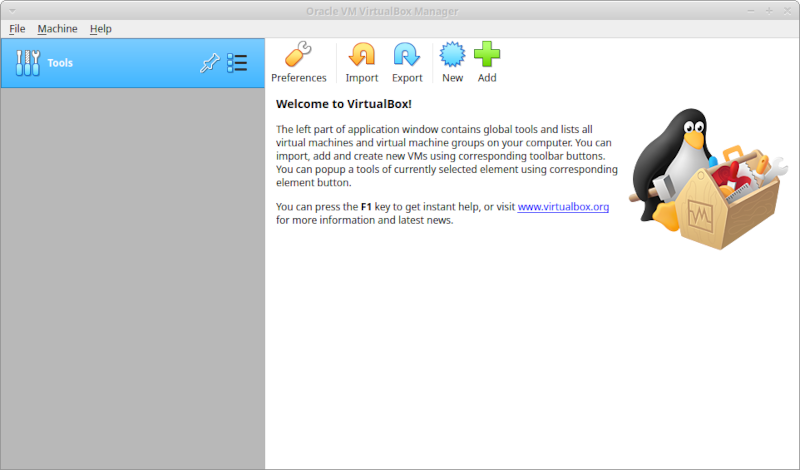
This is the application that lets you manage the “hypervisor”, the program that operates and oversees all the virtual machines running on your host (laptop, desktop or server).
Creating a Empty Virtual Machine Configuration
Just as a host needs somewhere to read its operating system from at boot time – normally a hard disk / SSD – a virtual machine needs a store that contains its operating system files. It typically looks like a very large file and will normally be held on the disk of the host operating system (for virtual machines in the cloud it’ll be in a object store off the host). As you create a virtual machine you have to specify where you’ll put this “VM Hard Disk”. It will typically be several GB in size so make sure you have enough space.
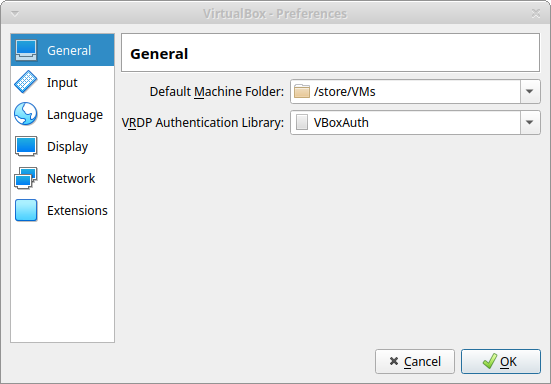
In the VirtualBox Manager you can click on the preferences tab to set the default directory (Note this is the parent directory of all VM hard drive files.).
To fill this virtual machine store with operating systems files you can either use
- operating system installation media (e.g. installation DVD image)
- a pre-prepared machine image in the correct format
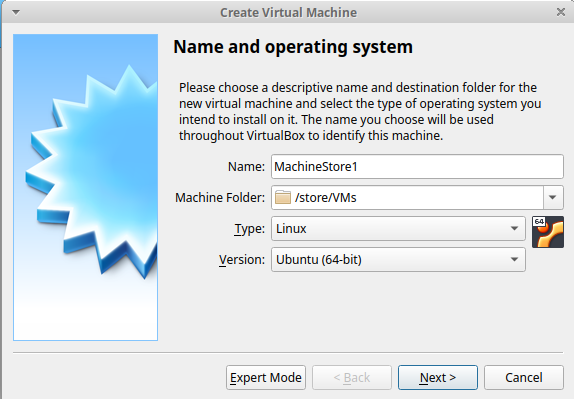
Let’s first have a go at creating a virtual machine from installation media.
We’re going to be using the desktop version of Xubuntu (April 2022 LTS release).
We’ve downloaded it and it is sitting on the hosts hard drive but we won’t need it for a while.
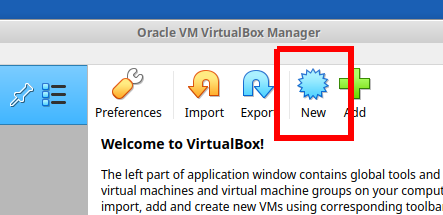
To start, click on ‘New’ in VirtualBox Manager.
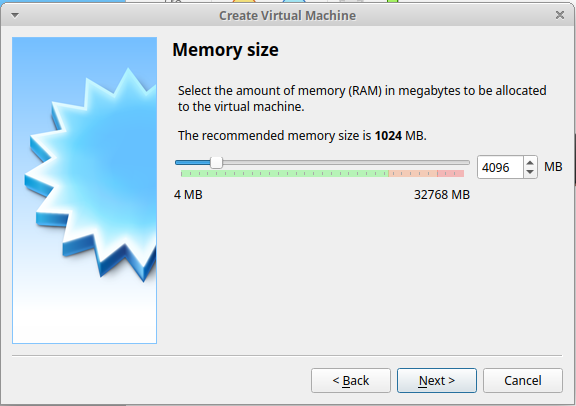
You have to choose how much of the memory of your host computer you are going to allocate to the running of this virtual machine. When it is allocated to the virtual machine and the VM is running, that memory will not be available for use but the host for any other purposes. The default is 1024MB. This is quite low for many uses.
This host has 32GB of memory so we chose to allocate 4GB to this new VM.
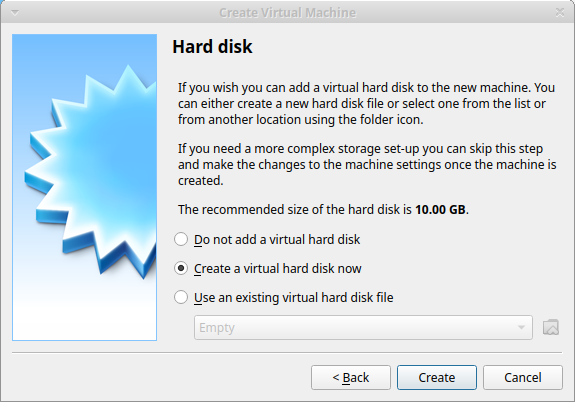
Next you have to specify what type of VM hard disk you are going to use. If you are using a machine image, you’d choose “Use an existing virtual hard disk file” here but since we are using installation media we select “create a virtual hard disk now”.
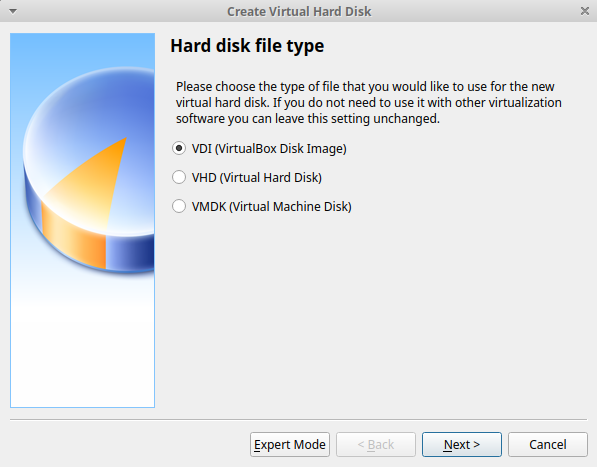
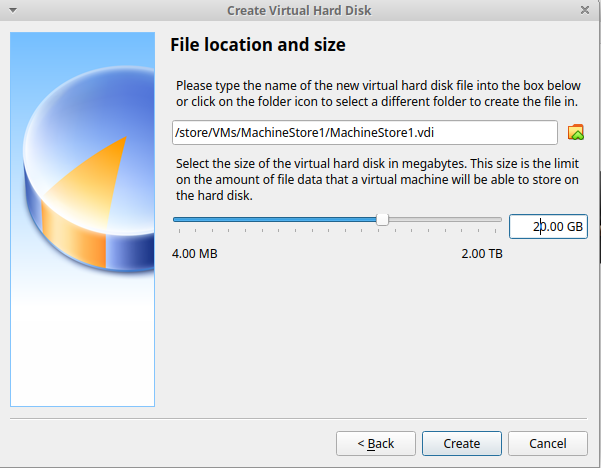
We are now asked what type of VM hard disk file we want to create. Unless you have plans to attempt to use this virtual machine on other types of virtualisation software, you might as well choose the VirtualBox-specific VDI format.
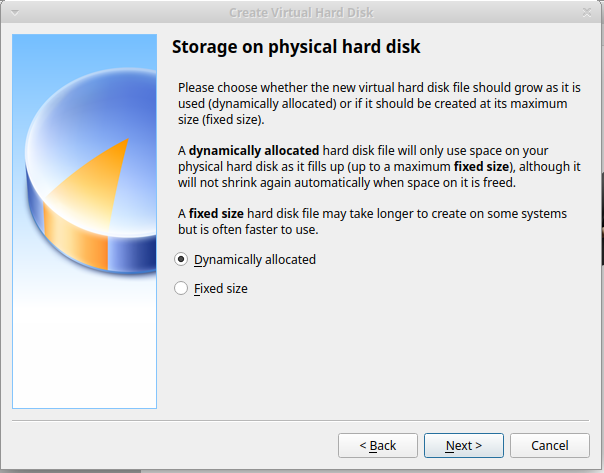
We are asked if we want a fixed or dynamic sized VM hard disk file. This is a balance between performance (choose fixed) and avoiding taking up unnecessary disk space on the host (choose dynamic). For demo purposes you can choose either. We went with dynamically allocated.
In the next step you need to specify the details of the VM hard disk file. We’ve chosen 20GB to allow a decent amount of space for both the operating system and some application files.
And now we have the virtual machine configured and ready to be activated.
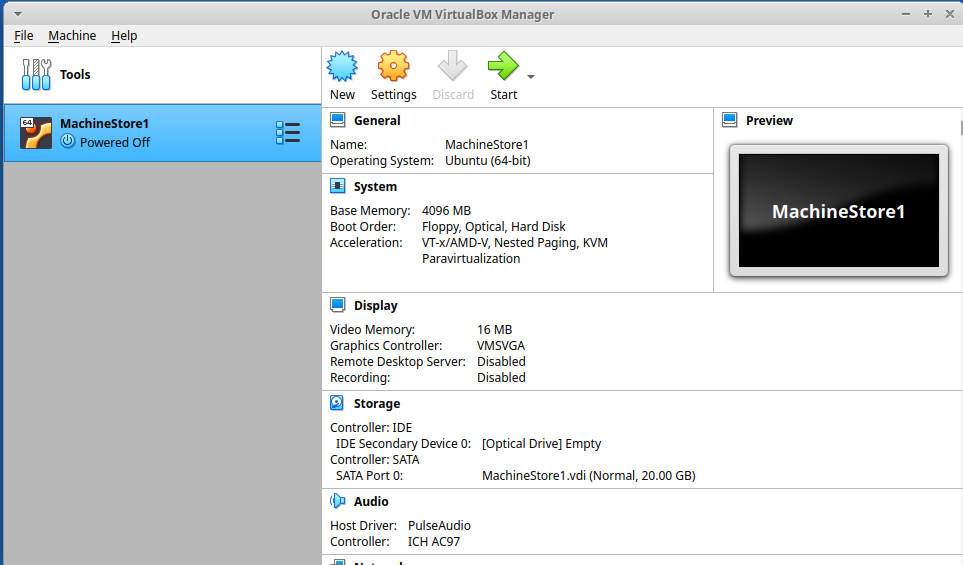
A VM hard disk is waiting on the host. It currently has space allocated but has no contents.

Installing the VM Operating System from Media
So now we have a VM hard disk ready to be used. We’ve told VirtualBox how much of the host’s memory should be used when activated. Now we need to get on and install the operating system. To do this we need to mount the media that we downloaded earlier and then boot the server.
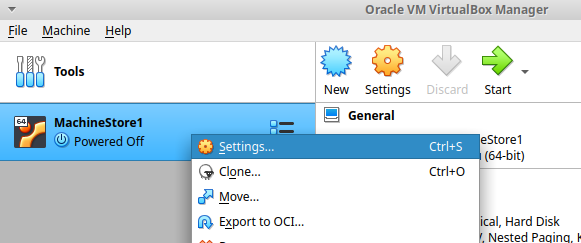
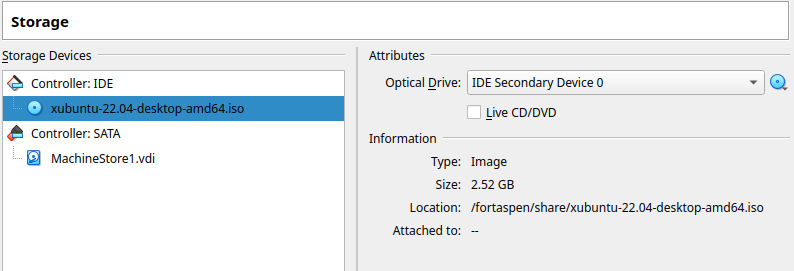
To “mount” the “media” (actually an ISO file on the host’s hard derive) we go into the VM’s settings.
Select the storage section and the optical drive.
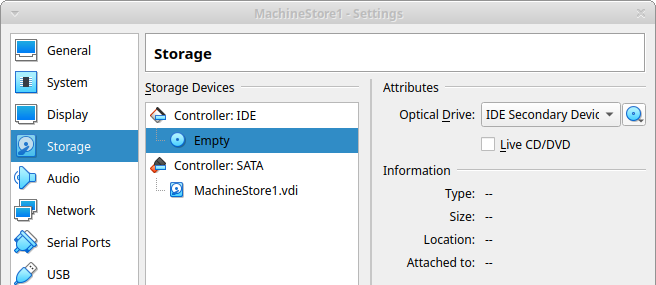
Click on the image of an optical disk on the far right of the pop-up and select “choose a disk file”, navigate to your downloaded installation media and select.
The location of your installation image should be listed on the pop-up in the information area.
You can now start your virtual machine.
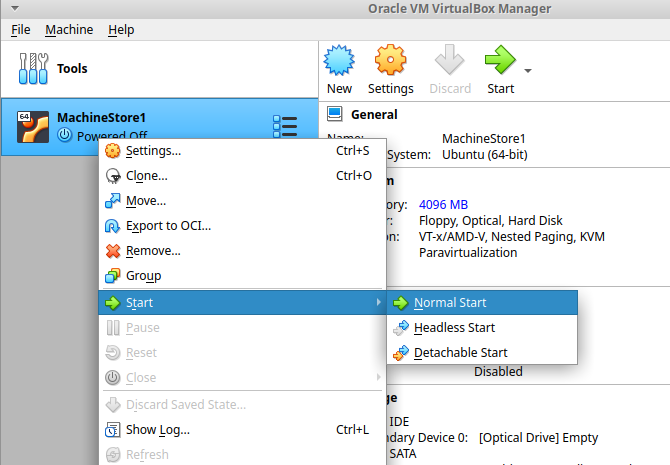
Use a normal start. A normal start gives you a window in the host’s GUI showing what would be the console (i.e. monitor) of the VM that allows you to interact with the installation. A headless start does not give you a console window in the host GUI so you have to manage the VM using the likes of SSH – not possible before an operating system is available.
A window should appear with the boot menu.
A word about how the keyboard and mouse works with the console window. If you click on another application and type on the keyboard, the input will be directed to that application. Once you click on or select the console window, the keyboard/mouse will be “captured” and will be directed to the virtual machine. To release the keyboard & mouse back to the host you can activate the “host key”. The current host key is shown in the bottom right of the console window. In this case it is “Right Ctrl”: the control key to the right of the space key. Normally you can also just click on an application back on the host and the input devices will be automatically released.
Select the console window and use the arrow keys to move to and select the “try or install Xubuntu” option.
After a short wait the first of the install wizard screens are shown.

Select your language and click in “Install Xubuntu”.
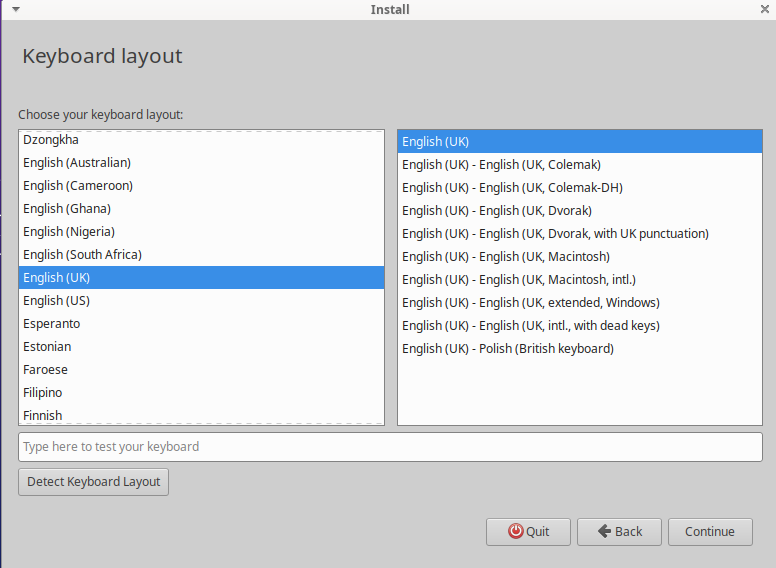
Select your keyboard layout and continue. Next you are asked what type of install you want.
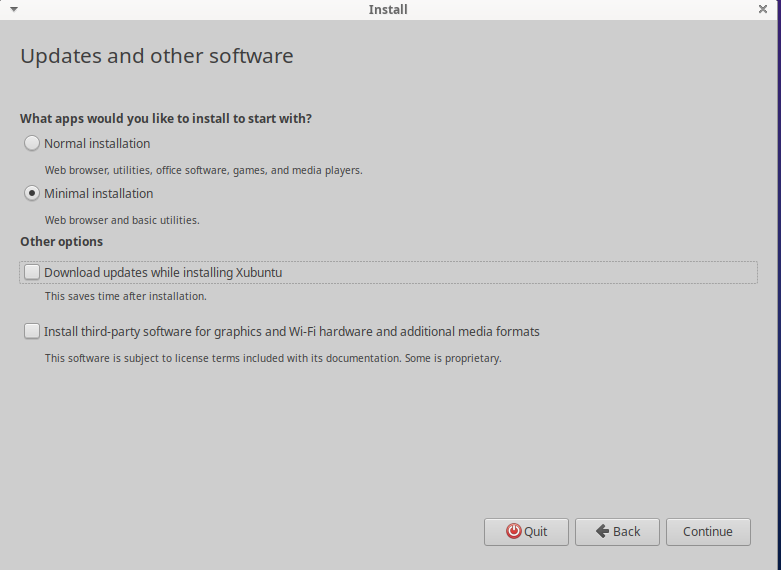
As this is a virtual machine, we’ve chosen minimal installation and unselected the other options to speed up the install
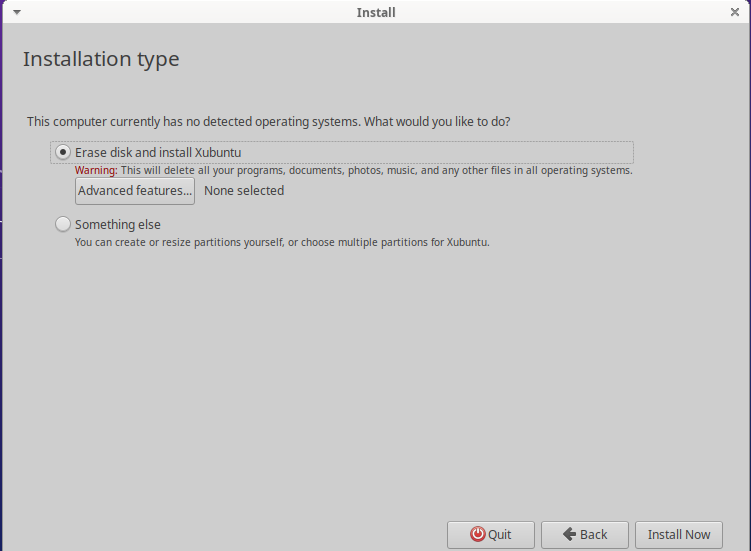
We are happy for the installation to erase the whole virtual disk (currently empty) and use it to install the new operating system.
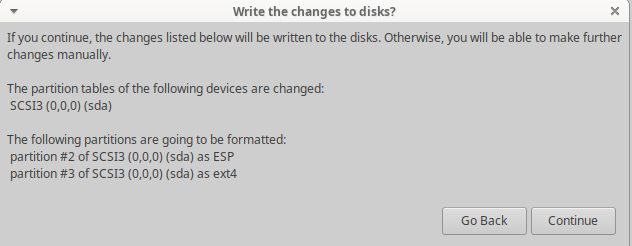
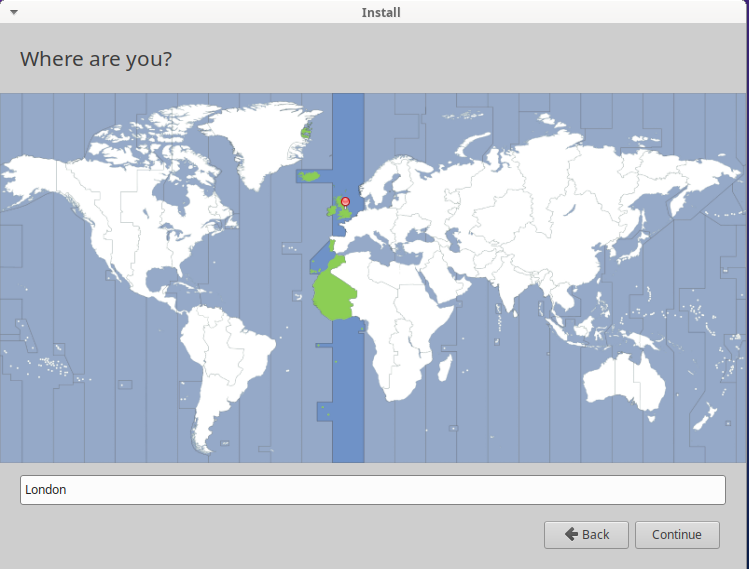
We confirm the pop-up summarising the installation. Next we are asked to confirm the time zone
And then enter details of the virtual machine host name and initial superuser’s username.

At last the installation is off and running. This will run for a few minutes.
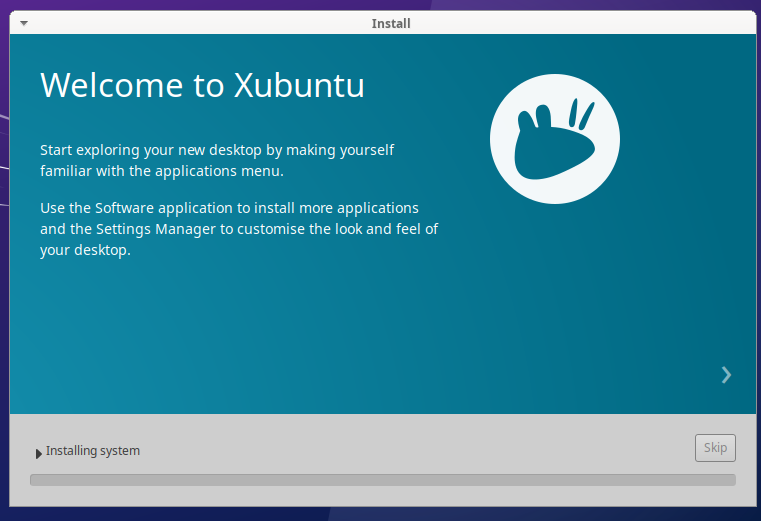
Until the confirmation message appears
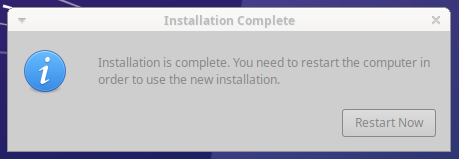
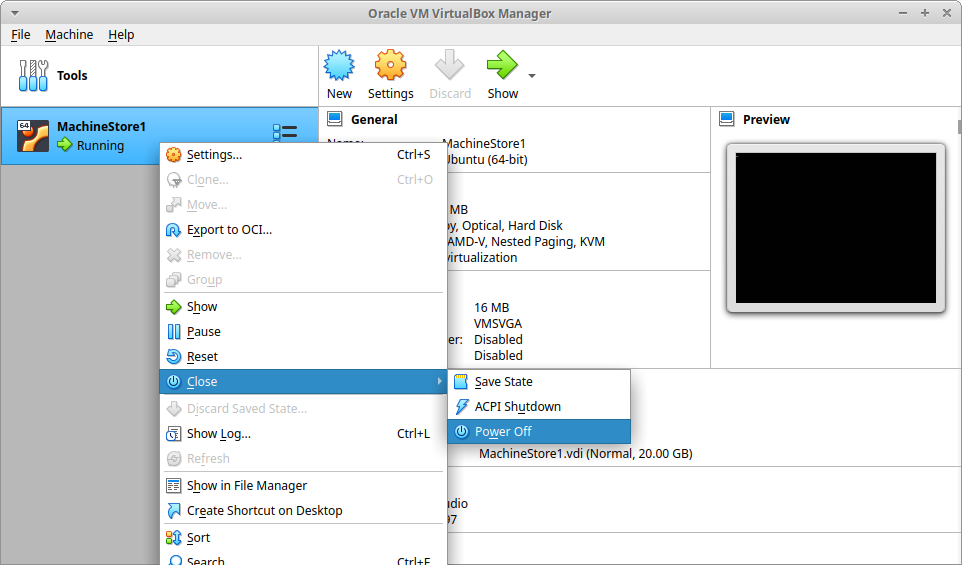
On clicking “restart now” the installation completes and tries to shut down but the virtual machine does not stop. To stop the virtual machine you have to go to the VirtualBox manager window, right click on the VM and selection Close → Power Off. This is equivalent to cutting electricity to a computer and should not be used normally (use ‘ACPI shutdown’ which requests a shutdown nicely) but is necessary on the first installation.
You can now restart the VM this time with the operating system installed.
After a short wait for the VM to boot, the login screen is shown where we can enter the password used during the installation process.
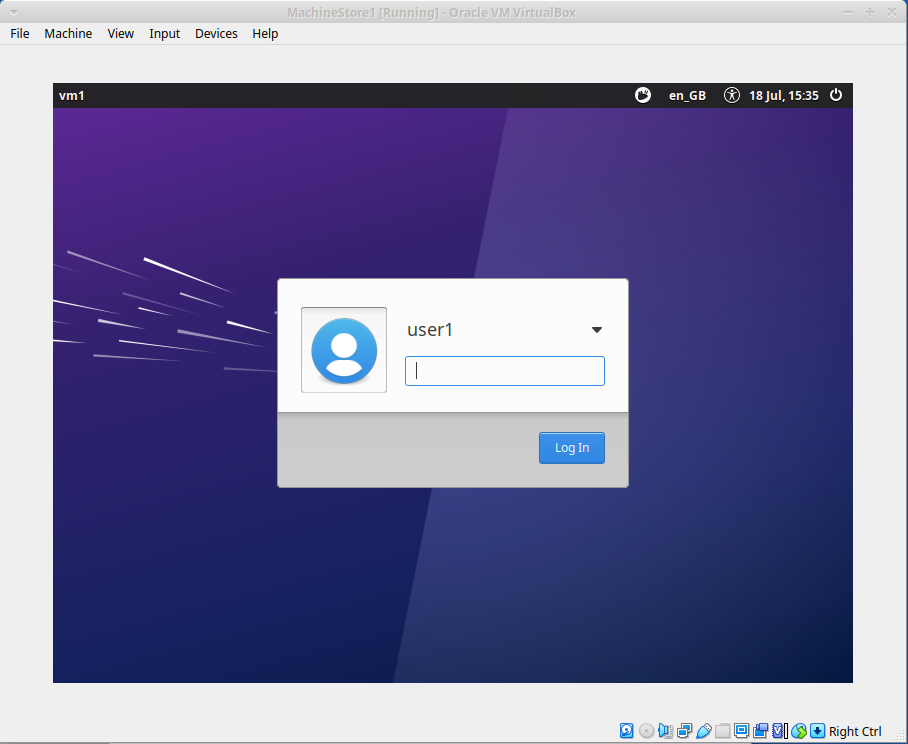
There is a problem however. The screen resolution is limited. On this machine it is limited to 800×640 with a large border even though the monitor resolution is 1900×1080. To increase the resolution to match the host system you need to install “guest additions”.
And, wouldn’t you know it, we have a guide for the installation of Guest Additions on the VM here.