
When creating a new container instance in the LXD overview, you could only create instances from images that were a unconfigured, vanilla operating systems. If you then installed a significant amount of software on the instance and you wanted to create another copy, well, you had to install all that software again on the second instance.
What you want to do is create a “golden build”, a custom image that includes the vanilla operating system along with your installed software and configuration.
Two ways of achieving this:
- a tool from the same people as LXD (linuxcontainers.org) called distrobuilder
- create a container instance, install and configure all the software you want and then “publish” the container as a new image
We’re going to have a go at the second of these two approaches. We’re going to create an container instance, install an Apache2 web server, update the home page and then create the new image from it. We can then create a second instance using this new image. It should automatically have Apache2 installed and have the updated home page.
Create Initial Instance
We’re starting off with LXD installed with default configuration (see here if necessary). First off, create a the master instance.
lxc launch images:ubuntu/jammy theMasterCtr
lxc image list
lxc list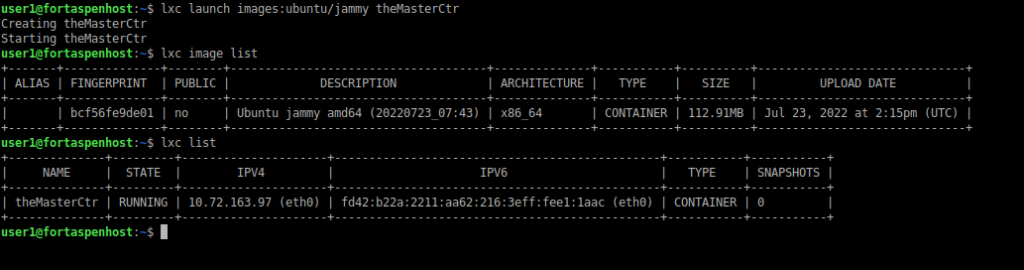
We can now enter a bash shell inside the lxc container
lxc exec theMasterCtr -- /bin/bashThe command line is now an interactive shell running inside the container and we can install Apache2 web server
sudo apt-get update
sudo apt install apache2
Next we check that Apache2 has been installed and confirm that the IP address of the container instance matches that from the “lxc list” command above
service apache2 status
ip addr
exit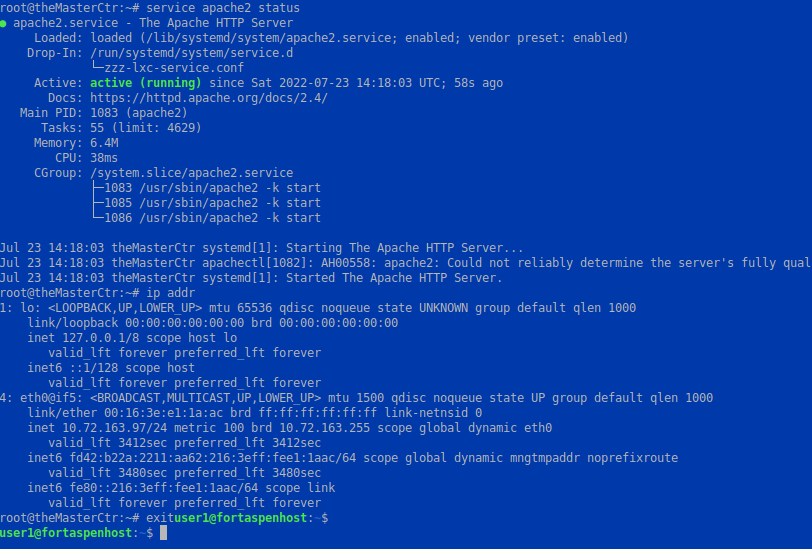
The exit command should have closed the interactive shell and returned control to the host.
Push Files from Host to Container
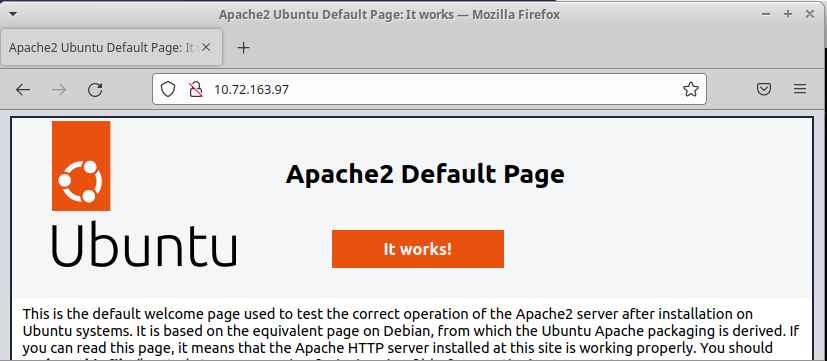
Back on the host, we enter the container’s IP address in a browser (or use the “wget -O -” command at the command line) and view the default Apache holding page.
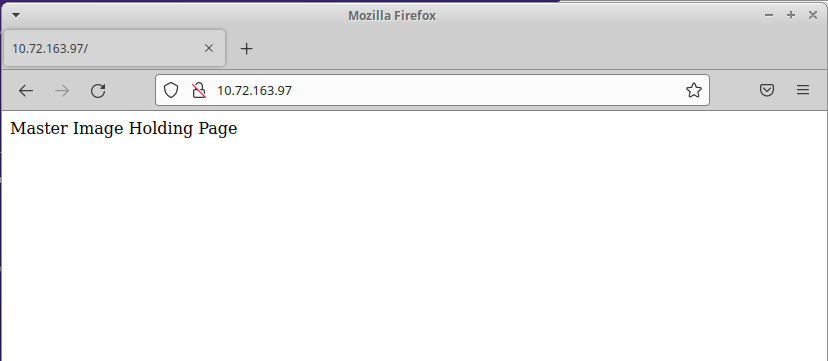
Now we create a simple file to replace this holding page and then send it from the host to the container using a “push”
echo “Master Image Holding Page” > hostIndex.html
lxc file push hostIndex.html theMasterCtr/var/www/html/index.html
The new holding page is now visible in the browser on the host.
Create New Master Image
The container now has the Apache2 web server installed and the holding page replaced. We are ready to take the “master” image.
Note: in operational usage you should put effort into cleansing the image of private metadata (such as SSH keys) so that it is not propagated further then it should be.
First we stop the container instance and then issue the publish command to create the new image
lxc stop theMasterCtr
lxc publish theMasterCtr—alias theMasterImg
lxc image list
Create a Instance From the New Image
The image is now in the local repository ready for another container instance to be created.
Lxc launch local:theMasterImg copyOfTheMaster
lxc list
sudo ls -l /var/snap/lxd/common/lxd/images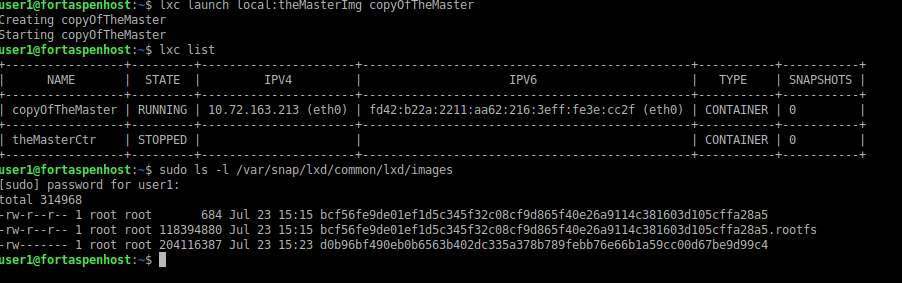
Entering the IP address for the new instance in a browser our chosen replacement text is visible.

Move Image to Other Environments
Once you’ve prepared your master image, it would be good to be able to move that to other environments. You could set up an LXD server to act as a remote repository but a simpler method is to use the image export/import commands.
Running the export command will write the image to a file in the working directory (it just copies it from the local image repository directory, /var/snap/lxd/common/lxd/images). The filename is the hash of the filesystem.
lxc image export theMasterImg
ls -l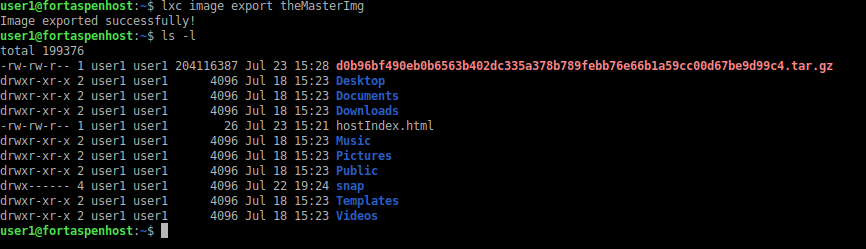
You can’t import two images with the same hash into the local repository so in order to import the image we need to delete the original.
lxc image delete theMasterImgAnd then we can import the image from the exported file using
lxc image import <thelonghashstring>.tar.gz –alias theNewAlias
lxc launch local:theNewAlias
lxc list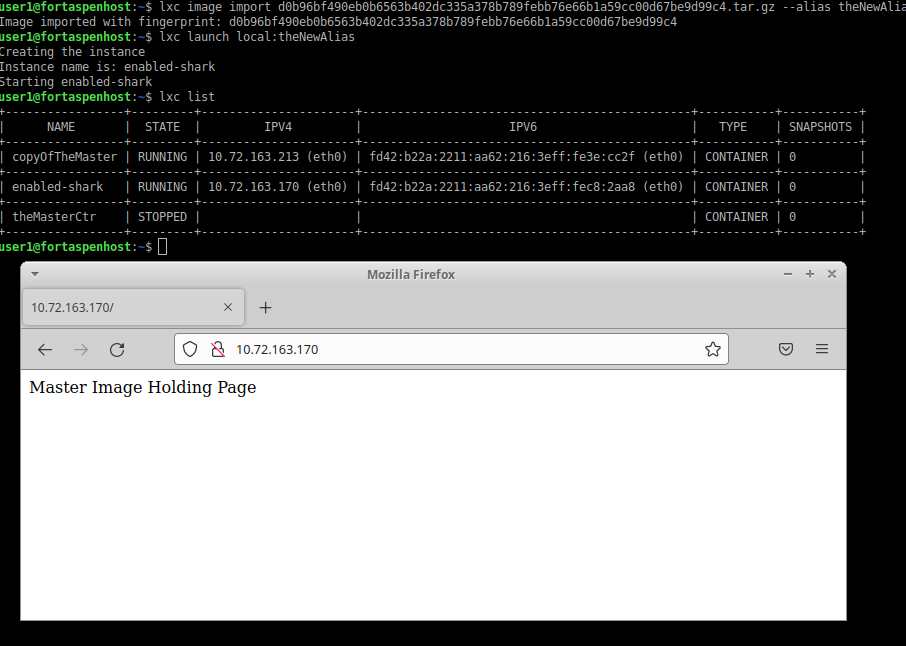
which again has the chosen default web page being served by the installed Apache2 web server.