
“Guest additions” is additional software that can be installed on a guest operating system (i.e. the VM) to add additional functions such as increased screen resolution or creating file shares with the host operating systems. (For those on Debian-based Linux there is a separate package, virtualbox-guest-additions, which can be installed using apt.)
Here we’ll install it using a downloaded CD image.
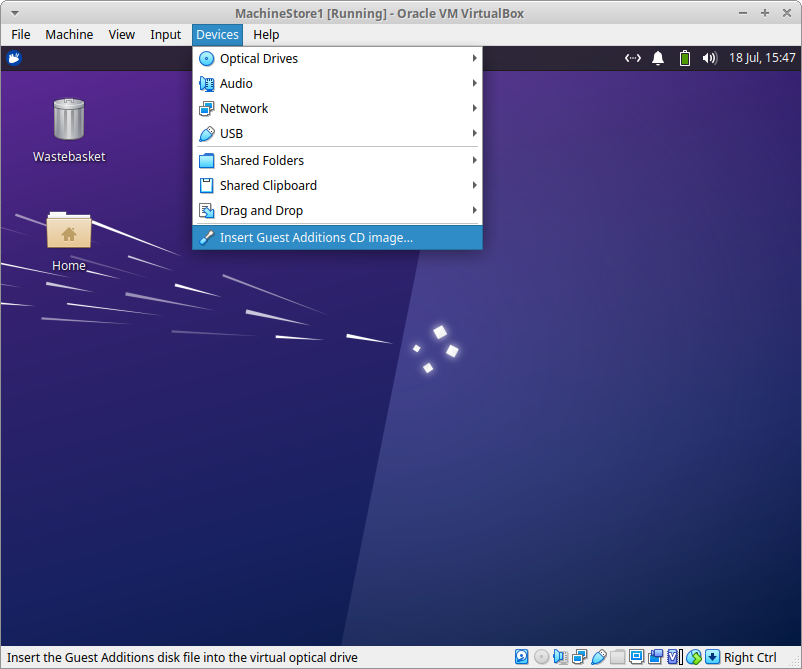
First you have to obtain the appropriate CD image. This can be done from within the VirtualBox Manager application. Choose the “Insert the Guest Additions CD image” from the devices menu.
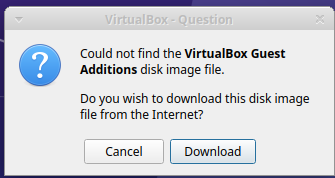
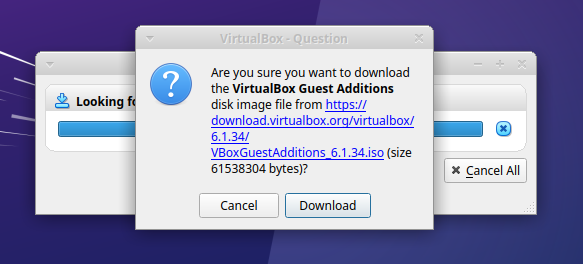
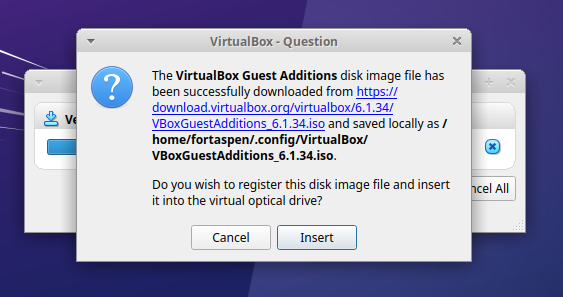
Select download when prompted and choose to insert the CD image into the Guest VM’s virtual optical drive.
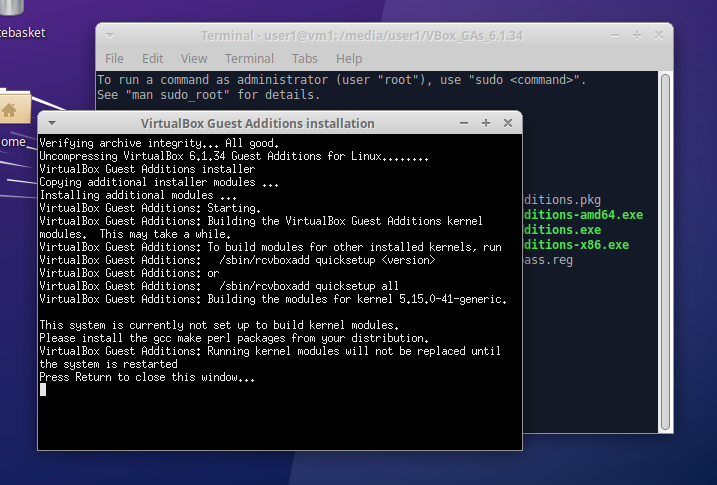
Once the CD image is mounted in the optical drive you can open a terminal window and navigate to the CD image (in the /media/*YourUserName* directory). If the installation has not auto-run, you can run the image by entering the CD’s top level directory and running the command (note the “./” at the start. This is required when the target program is not in your user’s ‘path’)
./autorun.shThis opens a new window and performs the installation.
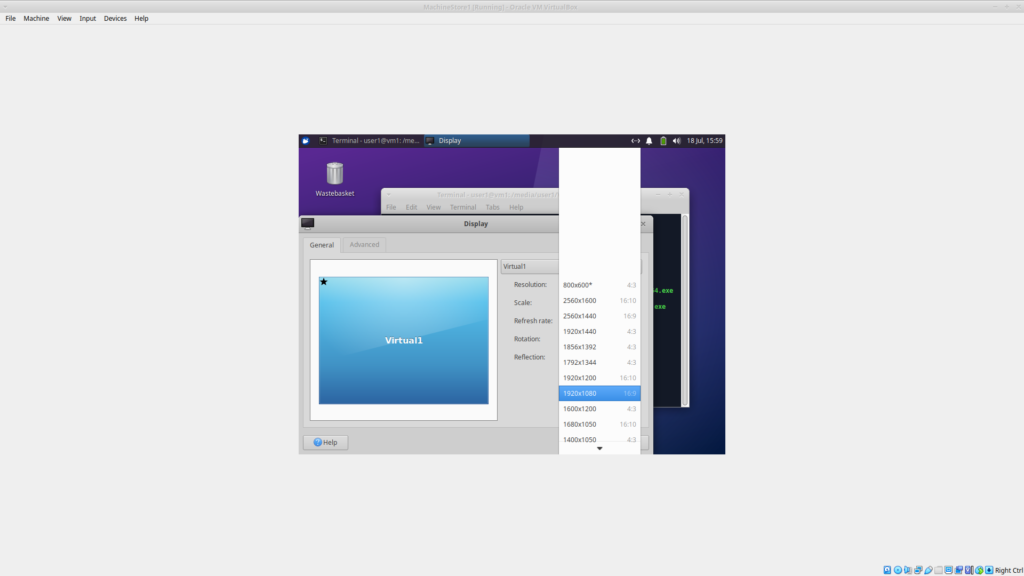
You can now navigate to the display management app (start [in the top left of the screen] → settings → Display)

and choose your new screen resolution
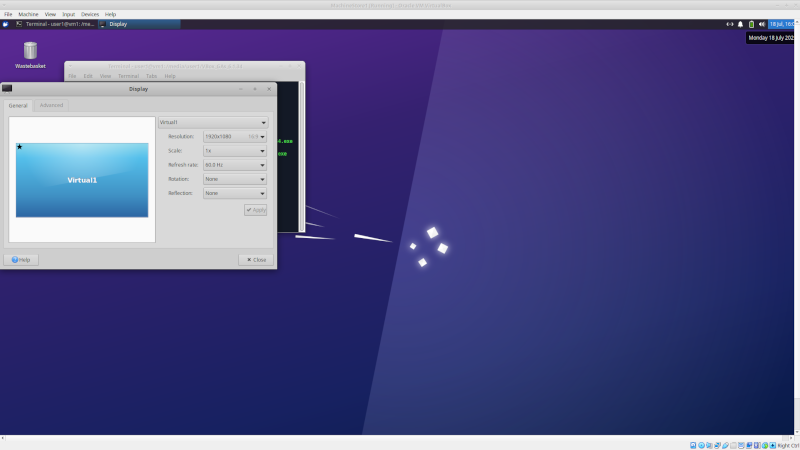
which results in the full screen becoming available to the virtual machine. (if your screen keeps reverting to the old resolution after the VM is restarted, this worked for me )
Sharing Files Between Host and Guest VM
Once guest additions have been installed on the guest VM you can also share directories between the host and VM. This is done in the settings window within the VirtualBox Manager application. Unsurprisingly the shared folders are managed in shared folders tab.
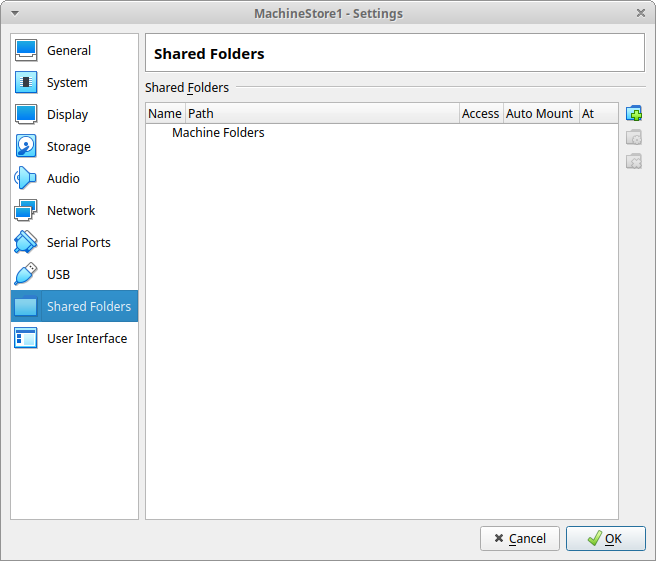
When the VM is inactive, clicking on the create folder link at the far right of the tab lets you specify the folder path (on the host) and mount path (on the guest). Select the auto-mount checkbox to ensure the folder is available on the guest at start-up.
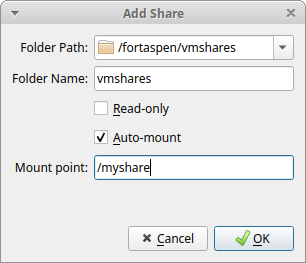
Click OK to save and start the VM instance in the usual way.
Once the VM is up and running the share should be automatically mounted and visible.
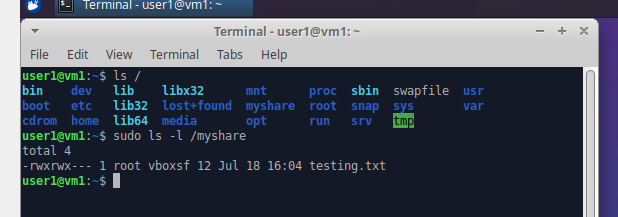
The share directory, in this case “myshare” is visible however the user does not have permission to access the directory. Only the members of group “vboxsf” have access to read and write files to the share so the user needs to be added to group vboxsf.
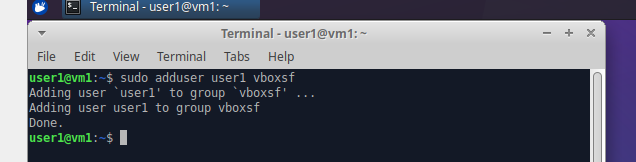
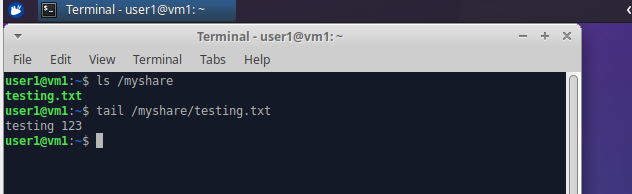
One the user has been logged out and back in, the directory is visible to the user and they can read content from the host operating system.
Now that full screen resolution is available and a file share is available to transfer files to/from the host, depending on what you are looking to achieve it may be worthwhile setting up the network links to the VM.