
If you’re working with containers on more than one machine you should be thinking about using a registry to avoid manually transferring, uploading and version-checking container images as they evolve.
Harbor is a simple-to-install container registry from the same stable as Containerd and Kubernetes (Cloud Native Computing Foundation). This guide will go through the process of installing Harbor on a virtual machine (Ubuntu 22.04) and working with it in concert with Podman (the commands will be identical to Docker). The official install guide for Harbor can be found here.
Prepare For Installation
We start with a base install of Ubuntu Linux (22.04) and give it a fixed IP address of 192.168.1.180 so that external clients can access it reliably.
The standard installation of Harbor operates within Docker overseen by Docker Compose so Docker & Docker Compose need to be installed.
# 1) Download the 'keyring' for docker
curl -fsSL https://download.docker.com/linux/ubuntu/gpg | sudo gpg --dearmor \
  -o /usr/share/keyrings/docker-archive-keyring.gpg
# 2) Add the Docker repository
echo "deb [signed-by=/usr/share/keyrings/docker-archive-keyring.gpg] \
  https://download.docker.com/linux/ubuntu jammy stable" \
  | sudo tee /etc/apt/sources.list.d/docker.list
# 3) Refresh the repository cache
sudo apt-get update
# 4) Download and install the Docker software
sudo apt-get install -y docker-ce docker-ce-cli containerd.io docker-compose \
  docker-compose-plugin
To use the docker command line tools your user needs to be in the “docker” group. We add our user “user1” into the docker group.
sudo usermod -a -G docker user1and reread the user configuration by logging out of the session and back in.
We can now see that docker is working.
docker image list
systemctl status docker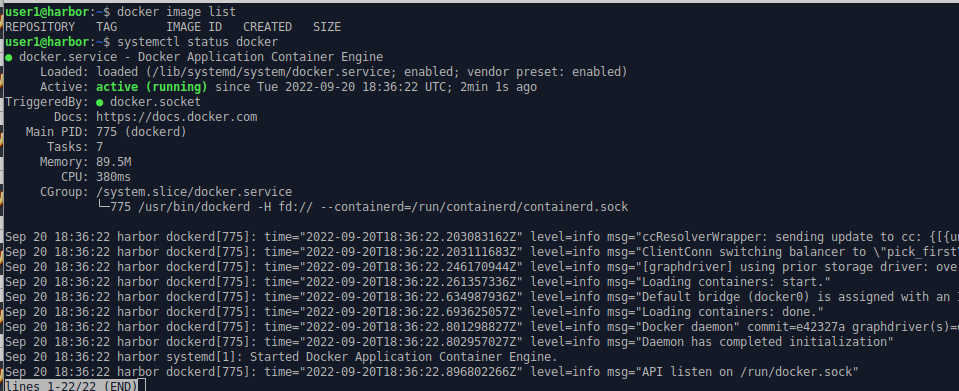
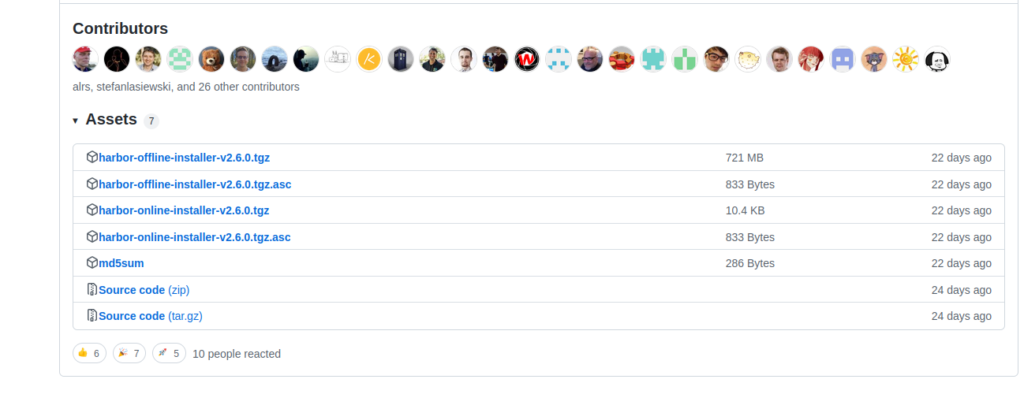
Lets obtain the Harbor installer. The Harbor installer has two versions. The offline version downloads all the necessary software in a single package and is about 720MB. The online version is a script which downloads the software components as it works.
Choose your release from the github page.
https://github.com/goharbor/harbor/releases
Scroll to the bottom of the release-specific page to find the download files.
Here we use “wget” to download the online version and check the md5sum matches that specified in the “md5sum” file.
wget "https://github.com/goharbor/harbor/releases/download/v2.6.0/harbor-online-installer-v2.6.0.tgz"
md5sum harbor-online-installer-v2.6.0.tgz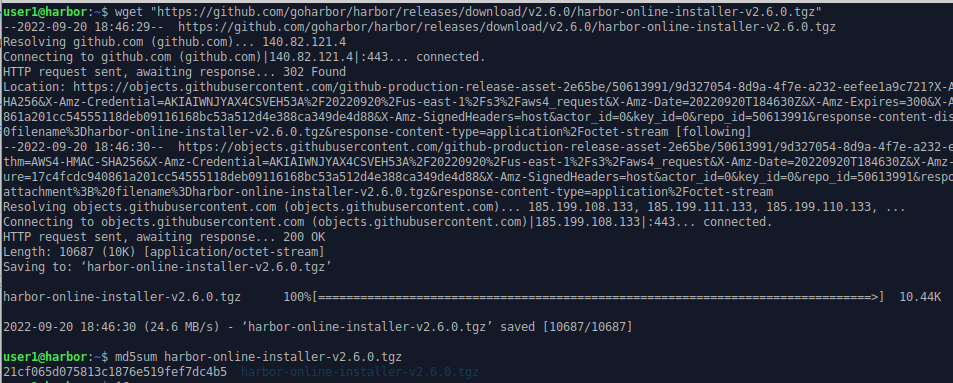
We extract the install script from the tar file.
tar xzvf harbor-online-installer-v2.6.0.tgzand navigate into the created directory where the install script is located. We’ll return to that in a moment.
Server Certificates
Before running the install script we need to create a set of HTTPS server certificates so that communication to and from the Harbor application is secured. If Harbor is being used for development and testing (rather than linking to multiple entities over the open internet) you can avoid the delay and expense of getting a certificate signed by a bona-fide certificate authority by using your own newly-created certificate authority.
First we create a private key and public certificate (public key) for our own local certificate authority using OpenSSL. For more on digital certificates, certificate chains and certificate authorities see here.
openssl genrsa -out ca.key 4096
openssl req -x509 -new -noenc -sha512 -days 3650 \
 -subj "/C=GB/ST=Scotland/O=FortAspen/OU=CertAuth/CN=certauth.fortaspen.com" \
 -key ca.key \
 -out ca.crt
Now move onto creating a certificate for our Harbor server. First comes the server’s private key – much the same as the certificate authority private key.
openssl genrsa -out harborServer.key 4096Then the certificate signing request (to be “sent” to the certificate authority).
openssl req -sha512 -new \
-subj "/C=GB/ST=Scotland/O=FortAspen/OU=Registry/CN=registry.fortaspen.com" \
-key harborServer.key \
-out harborServer.csr
The “registry.fortaspen.com” in the above subject entry is ignored in modern servers. The server name is read from “x509 V3 extensions” so we create a file (harborSever.v3.ext) with the necessary v3 extension data.
authorityKeyIdentifier=keyid,issuer
basicConstraints=CA:FALSE
keyUsage = digitalSignature, nonRepudiation, keyEncipherment, dataEncipherment
extendedKeyUsage = serverAuth
subjectAltName = @alt_names[alt_names]
DNS.1=registry.fortaspen.com
DNS.2=harbor.fortaspen.com
This can be used to validate a server registry.fortaspen.com and harbor.fortaspen.com.
Now the “certificate authority” uses the signing request and the v3 Extension data to create a signed certificate.
openssl x509 -req -sha512 -days 3650 \
-extfile harborServer.v3.ext \
-CA ca.crt -CAkey ca.key -CAcreateserial \
-in harborServer.csr \
-out harborServer.crt
We can inspect the contents of the server certificate
openssl x509 -in harborServer.crt -noout -text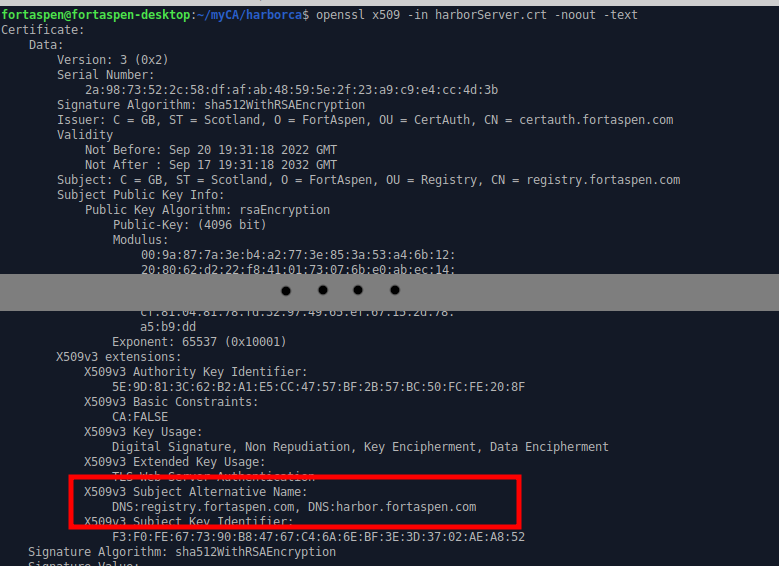
Running Install Script
We move the following certificate files to the Docker certificate directory (“/etc/docker/certs.d”) on the Harbor server
- ca.crt
- harborServer.key
- harborServer.cert (harborServer.crt needs to be renamed to .cert so Docker will read it as a server certificate and not a certificate authority)
And then restart Docker so the certificates are read in.
systemctl restart docker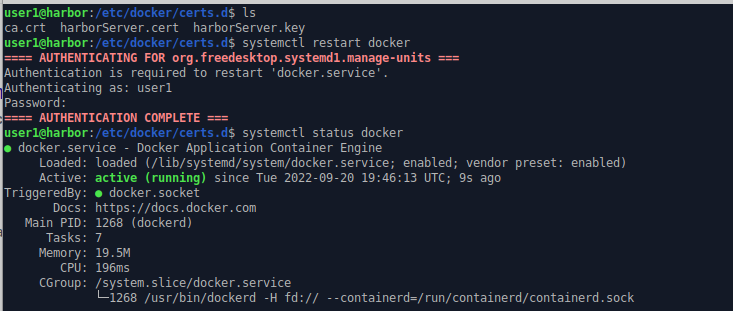
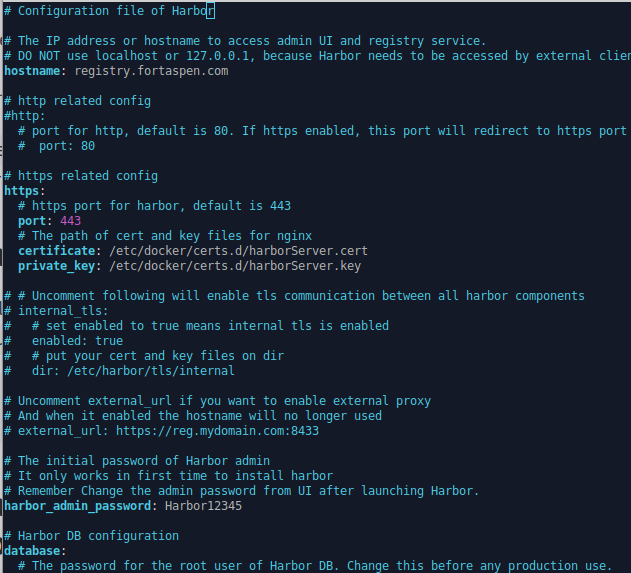
Returning to the Harbor install directory created by expanding the downloaded tar file (see above), we need to create and update the configuration file harbor.yml. There is a template file provided as part of the installation so we copy that and update it.
cp harbor.yml.tmpl harbor.ymlWe specify our hostname and the location of the certificate files.
The time has come to run the install script.
sudo ./install.sh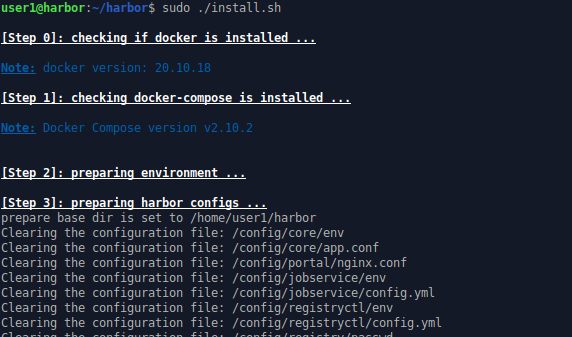
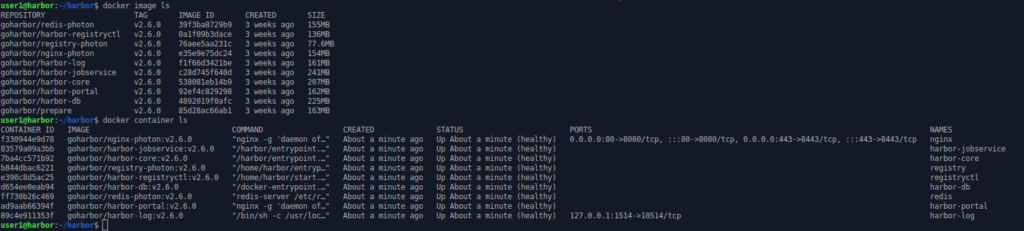
This downloads a large number of container images (will take some time) and starts containers to execute the Harbor services.
Secured communications uses the HTTPS port (443) which is active and listening.
ss -lt
Accessing from Browser
So we have an active Harbor installation on the server with, in our case, IP address 192.168.1.180. Lets try and link to it using a browser.
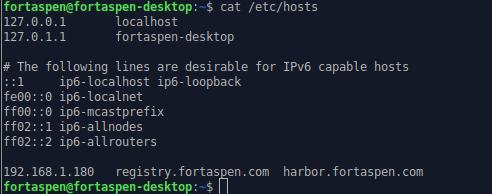
The first thing to do is to update the /etc/hosts file on the browser’s machine to map the DNS name (registry.fortaspen.com) to the Harbor server’s IP address.
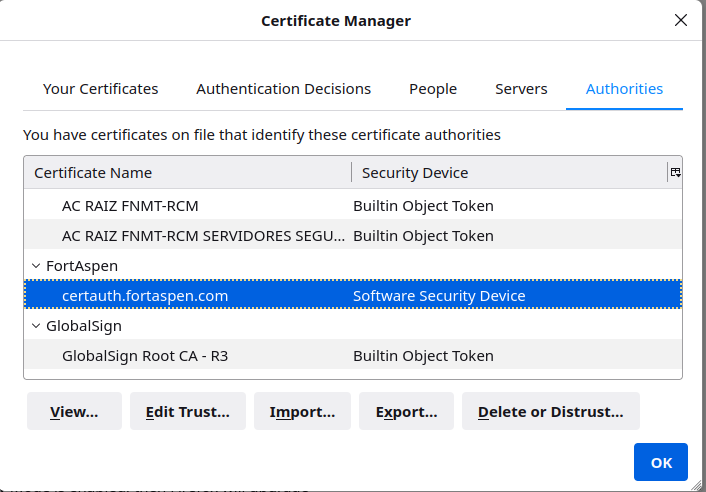
Next we have to upload the public key certificate of our “certificate authority” to the browser so that the server certificate can be checked as valid (Note that uploading it to the operating system certificate store is probably not enough, browsers often have their own certificate authority store).
In Firefox this is done in Settings → Privacy & Security → Certificates → View Certificates. You can use the import function to load in the “ca.crt” file created above that was used to sign the server certificate.
Now return to a normal browser tab and enter “registry.fortaspen.com”.

The default administration user is “admin” and the initial password can be found in the harbor.yml file (normally Harbor12345) – this should of course be changed immediately.
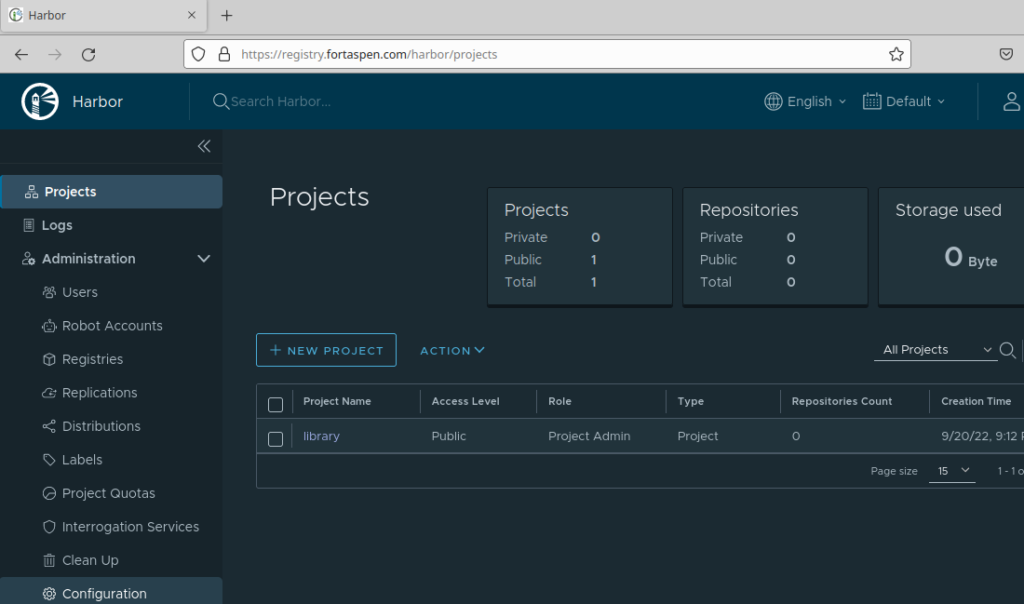
Here we can see the automatically created initial project “library” (like a sub-registry or directory). This is where we’re going to upload images into. Its set to “public” which means anyone can read from it which is only appropriate for software that can be made freely available to the public.
Under “Administration → Users” we create a non-admin user “harbor1” and suitable password. This is the user that will be used to upload images from Podman/Docker.

We now go to the default “library” project and add this new user as a member (with Developer role) so that it can upload images into it.

Accessing from Docker/Podman
On a system with Docker/Podman installed, there are a couple of things that need to be done before attempting to link to your newly created Harbor registry.
- ensure “/etc/hosts” includes registry.fortaspen.com (see above)
- install the certificate authority certificate at a operating system level
On Ubuntu Linux you can add a certificate authority using the “update-ca-certificate” script (install the tool using “sudo apt-get install -y ca-certificates”). Place the “ca.crt” file from above in the “/usr/local/share/ca-certificates” directory and run.
sudo update-ca-certificateThis will create links in the main certificate directory (/etc/ssl/certs).
Create & Run A Simple Test Container
On the container build machine create a simple Dockerfile/Containerfile in a directory echoTest
from docker.io/library/alpine:latest

CMD [“echo”, “Greetings from inside the container!” ]
This will simply output the message “Greetings from inside the container!” and terminate. We can build it into a container “echotest” (for Docker replace the “podman” command with “docker”).
podman build -t echotest ~/echoTest
podman image list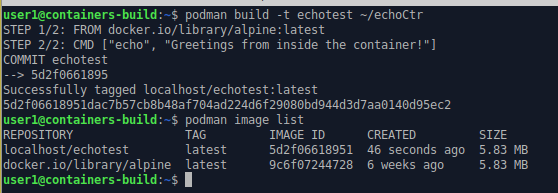
Now we can run the image inside a container.
podman run echotest
Push to Harbor Registry
Now we have a basic image that created and runs a container, lets push this to the Harbor registry.
Step 1: “tag” the image with the target registry. This is the same image with a new name. Note the name includes
- the registry domain name
- the target “project” in Harbor
- the name the image should have in Harbor
podman tag localhost/echotest registry.fortaspen.com/library/echotest
podman image list
Step 2: Specify the connection details to “registry.fortaspen.com”. Here we use the non-admin user we created above: harbor1.
Podman login registry.fortaspen.com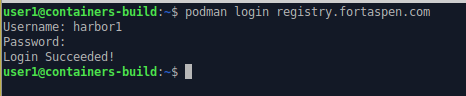
Step 3: Push the image onto our new registry
podman push registry.fortaspen.com/library/echotest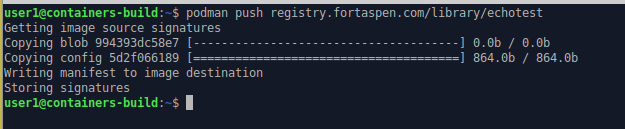
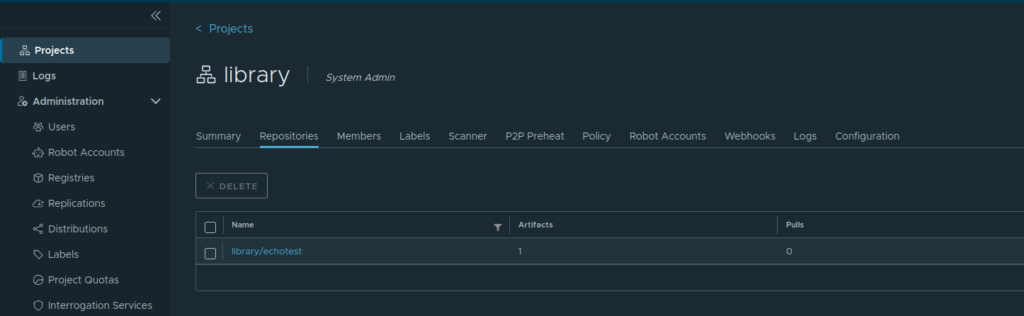
If we go to the Harbor web console we can now see the image in the default “library”.
Pull from Harbor Registry
Lets remove the image we just built so that we can download it from the registry.
podman container prune
podman image rm registry.fortaspen.com/library/echotest
podman image rm localhost/echotest
podman image list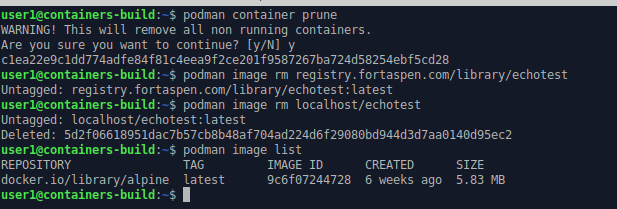
We’ve already logged into the registry (see above), so we can just pull the image onto the local machine. Given its a public “project”/directory this is not really necessary.
podman pull registry.fortaspen.com/library/echotest
podman image list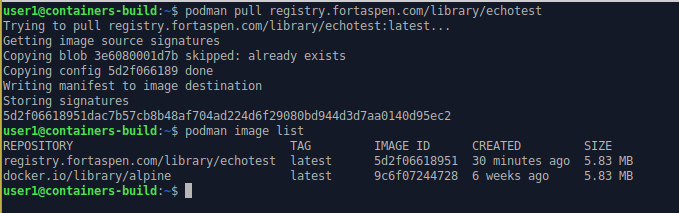
Now we can run it.
podman run registry.fortaspen.com/library/echotest